
 ↗
3D Yazıcı ParçalarıSiparişe özel
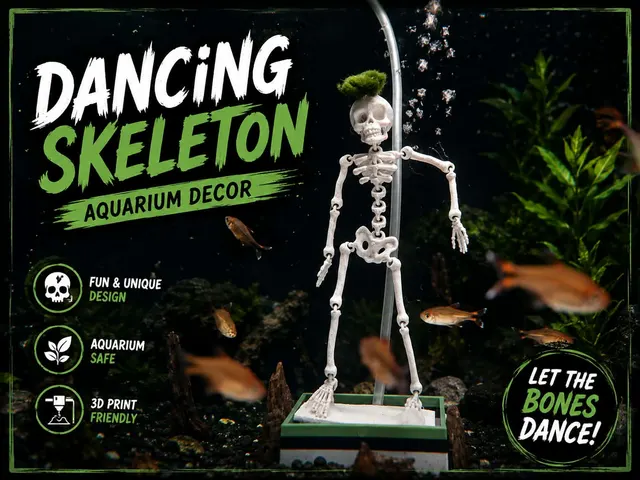
DROWNED SKELETON AQURIUM DECOR
🦴 Dancing Skeleton – Aquarium Decoration
₺300,00
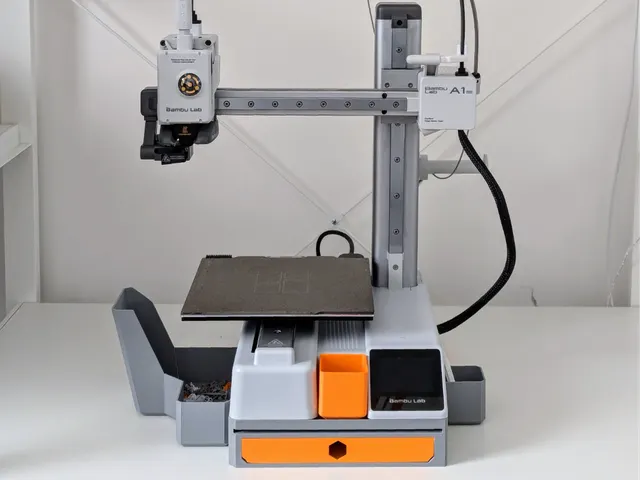
This is a unique, multi-functional AMS Riser & Flipper specially designed for the Bambu Lab P2S. This model is fully printed in PLA and extensively tested. The frame features a sleek, skeletonized pattern for a modern look.
Tahmini teslim süresi: 2 gün. Renk seçimini sipariş onayında birlikte netleştiriyoruz.
Bu ürün hakkında soru sorun ↗This is a unique, multi-functional AMS Riser & Flipper specially designed for the Bambu Lab P2S. This model is fully printed in PLA and extensively tested. The frame features a sleek, skeletonized pattern for a modern look. Smart Two-Position Mechanism: • Tilted position (flat): When lying flat, the AMS is securely tilted backward for daily printing and smooth filament feeding (as shown in the last photo). • Upright position (extended): When lifted upright, the arms extend upward to provide extra clearance above the glass plate. Thanks to the integrated armrests and clamps, the system locks rock-solid into place. Plate Layout & Print Details: The project is split into 3 plates: • Plate 1 (Arms & Hinges): Contains the long arms and lifting mechanism. Oriented flat on the bed for maximum strength. • Plate 2 (Frame & Retaining Pins): Contains part of the main frame and 4 retaining pins. These pins ensure the moving arms stay securely attached and do not slide off. • Plate 3 (Frame Part): Contains the remaining part of the main frame. Print Settings (already pre-set in the profile): • Material: PLA (tested and verified) • Infill: 30% (for optimal structural strength) • Walls: 4 perimeters thick • Supports: Yes, this model uses support material for clean results. Assembly & Usage Steps: • Base Frame: Print the frame sections from Plate 2 and Plate 3, then slide them together to assemble the base frame that sits on top of the printer. • Assemble the Arms: Print the mechanical parts from Plate 1 and assemble the arm components as shown in the reference photos. • Final Mounting: Plug the top end of the arms into the slots at the bottom of the AMS unit. Insert the opposite end of the arms into the base frame resting on the printer. • Locking: Use the 4 printed retaining pins from plate 2 to secure the connections and prevent the arms from sliding off. • Upright Locking: When lifting the AMS into the upright position, use the integrated clamps on the arms to lock it into place. Make sure the clamp securely engages just underneath the small triangle on the arm for a perfect, stable hold. 🛠️ Project Status: This is the very first version (V1.0) of this design. It is working perfectly on my own setup, but improvements and suggestions are always welcome! Feel free to leave your feedback or ideas in the comments section. Tasarımcı: Timberlie · Lisans: CC BY-ND 4.0 Bu ürünün çizimi MakerWorld'den alınmıştır. Yapımcıya teşekkür ederiz.
3D baskının doğal katman izleri ürün yüzeyinde görülebilir. Ekran görüntüleri ile gerçek ürün rengi arasında küçük farklılıklar olabilir.
↗🦴 Dancing Skeleton – Aquarium Decoration
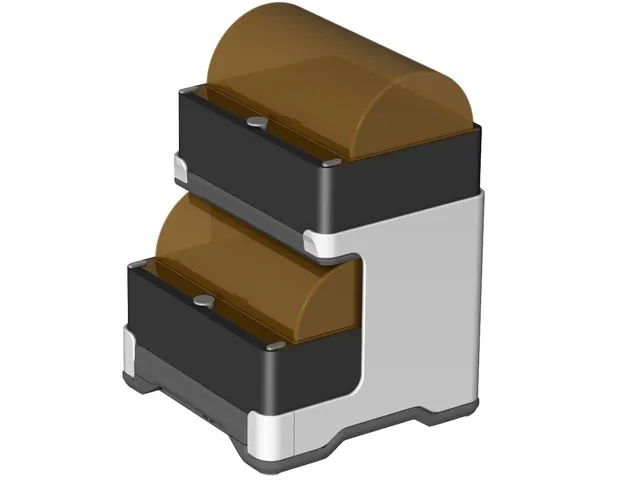 ↗
H2D-style stand for two Bambu Lab AMS 2 pro
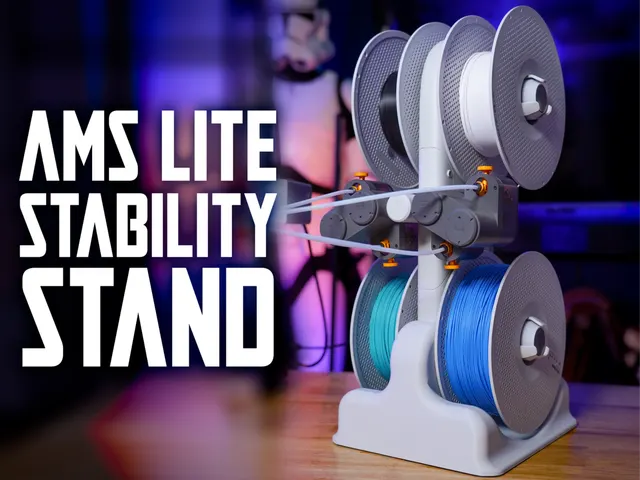 ↗
A stand replacement for the AMS Lite. Designed to take up less table space and increase stability, especially when used with an A2L. Highly recommend adding some rubber feet/tape to the bottom to add traction. Side screw can be removed and reused to more securely attach base to A
 ↗