
 ↗
SanatSiparişe özel
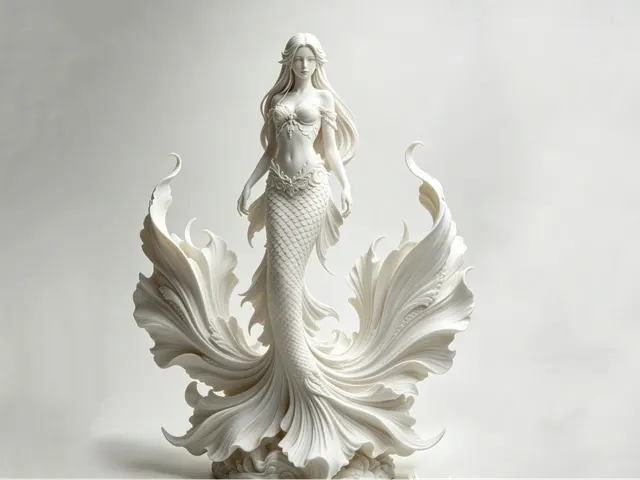
Mermaid
The supports are relatively easy to remove the only tricky part is the fingers take extra care when removing the supports from the fingers
₺650,00
AMS required
Tahmini teslim süresi: 2 gün. Renk seçimini sipariş onayında birlikte netleştiriyoruz.
Bu ürün hakkında soru sorun ↗AMS required Logo diameter: 15cm Height with base: 16.8cm The model requires glue for assembly (e.g. superglue). Because the Fenerbahçe Istanbul logo consists of 6 colors, I have published two profiles: • The first profile is intended for printers equipped with two AMS units. The logo is printed as a single piece. This version wastes more material (unless you have H2C), but it requires much less work during assembly (you can skip the first three steps of the assembly instructions). I especially recommend this profile if you have H2C. • The second profile is intended for printers equipped with one AMS unit. The logo is printed in three separate parts that need to be glued together. This version wastes less material, but it requires more time during assembly. The first three steps of the assembly instructions must be completed twice (once for each side of the logo). Assembly Instructions: 1. Glue the shield to the red circle. (Step 1 only for printers with one AMS) 2. Insert the smaller part into the opening of the larger one as shown in the image (it should sit slightly recessed in the opening). (Step 2 only for printers with one AMS) 3. Apply a small amount of glue to the sides as shown in the image, then remove any excess. After the glue has dried, level the surface so that the inserted part does not protrude above the opening. (Step 3 only for printers with one AMS) 4. Insert the connectors into one side of the logo, then glue both sides together. 5. Glue the logo to the base. For printing the logo parts, I recommend using a smooth PEI plate (it will be easier to glue them if the back is smooth). The base can be printed on a textured plate. Bu ürünün çizimi MakerWorld'den alınmıştır. Yapımcıya teşekkür ederiz. Bu ürün tasarımcının izniyle üretilmektedir.
3D baskının doğal katman izleri ürün yüzeyinde görülebilir. Ekran görüntüleri ile gerçek ürün rengi arasında küçük farklılıklar olabilir.
↗The supports are relatively easy to remove the only tricky part is the fingers take extra care when removing the supports from the fingers
 ↗
Boost MePlease consider giving me a BOOST to help me keep making free files.
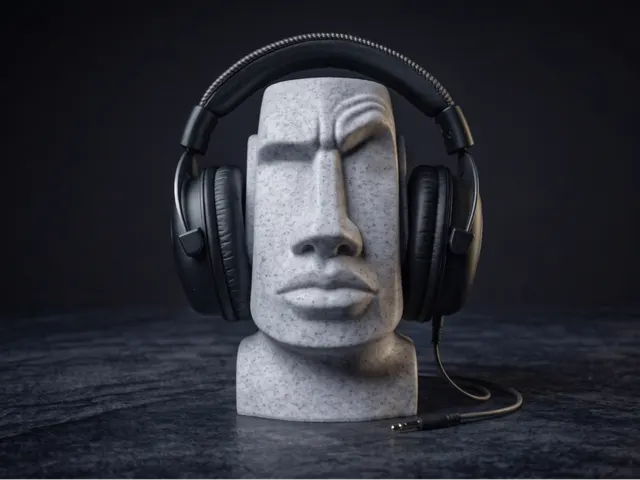 ↗
Boost MeA simple boost goes a long way. Support me!Give your desk some attitude with this bold and hilarious headphone stand inspired by the iconic 😏 “raised eyebrow” expression. This Moai isn’t just judging your music taste—it’s proudly holding it.
 ↗