
 ↗
Ev EşyalarıSiparişe özel
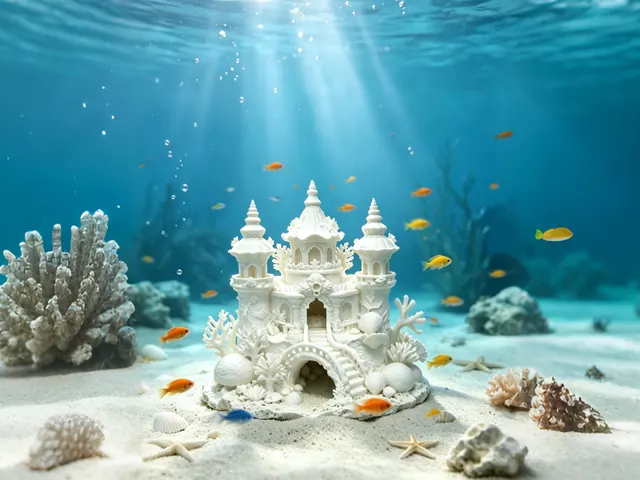
Three-layer Underwater Castle Aquarium Decoration Luxury Castle
Three-layer Underwater Castle Aquarium Decoration Luxury Castle
₺400,00
Question Block Floor Lamp Power-Up Edition
Tahmini teslim süresi: 7 gün. Renk seçimini sipariş onayında birlikte netleştiriyoruz.
Bu ürün hakkında soru sorun ↗Question Block Floor Lamp Power-Up Edition Hello everyone, today I wanted to present this model to mark reaching 1000 followers, It is an expansion of the very popular Question Block Lamp - No AMS - Galaxy Edition (if you don't know it yet feel free to visit my profile) The model has a height of approx 143cm and was designed and printed with great attention to detail a total of 23 plates and 12 different filaments are needed to recreate this model 1 to 1 in the same colors further down there is a, Illustrated instruction where the assembly is shown as best as I could manage. You will also need the following accessories • https://www.amazon.de/greate-Fassung-schwarz-Lampenfassung-Deckenleuchte/dp/B0D3GT1LY8/ref=sr_1_1_sspa?__mk_de_DE=%C3%85M%C3%85%C5%BD%C3%95%C3%91&crid=1O6Y2XLJTRNX5&dib=eyJ2IjoiMSJ9.O_UYzhfJ0eoRY3zps0mSvDT0h4vhvQByhfGTSUf2VKSJQVZ1o3Vff0Ky9wrg5AyjFnYQdbufGMcOV19uNt0OD9sz3Hy9gTZRteMefMUBujm73ECCCPobdFhuhQCom29veAZoyJqLwD2PF7QCZHwec6pQxh8Yo0HboEAYeEO54tK-7HLuYOvqohzmUCOJcSle3Jnf9aHd6Lh0Po3aRUfUbMfDDITRymLHJ3zbmDNCqrMSKkCyHShkrhAk3F1hOZB4DfGSY_ppx3L6Mxyh_gXaGJgdY4pn3BUWEZgHG83FYn0.SJ5CGEUFcGZMH8Q90ChRYAIVtFHVk2u3VYbE5McnbWM&dib_tag=se&keywords=greate%2BE27%2BFassung%2Bschwarz%2Bmit%2BSchirmtr%C3%A4gerring%2B%26%2BGewinde&qid=1791486095&sprefix=greate%2Be27%2Bfassung%2Bschwarz%2Bmit%2Bschirmtr%C3%A4gerring%2B%26%2Bgewinde%2Caps%2C108&sr=8-1-spons&aref=eZYShvaPPF&sp_csd=d2lkZ2V0TmFtZT1zcF9hdGY&th=1 • • https://www.amazon.de/dp/B0GTTLBZHR/ref=sspa_dk_detail_6?pd_rd_i=B0GTTLBZHR&pd_rd_w=Ycgj6&content-id=amzn1.sym.cf5ead54-c2f4-4493-953a-430e94cae639&pf_rd_p=cf5ead54-c2f4-4493-953a-430e94cae639&pf_rd_r=K0XXGRKVE4WHHPZPEYXB&pd_rd_wg=RDKJ4&pd_rd_r=9e8db6fe-ba44-4894-83ae-6476854e3a58&aref=IGctfbyAMT&sp_csd=d2lkZ2V0TmFtZT1zcF9kZXRhaWw&th=1 The build plate should be completely cleaned otherwise warping may occur on the yellow block during printing because the block is fully solid (wall). It is best to apply some glue to the yellow block. Now let's move on to assembly Take 1-2 hours for the assembly Step 1 Glue the 4 base parts together using the connecting pins Step 2 Glue the cylinder shown here in green onto the base plate Step 3 Assemble and glue the light green frame together with the connectors Step 4 Push the small pins through the frame from below and glue them from underneath (they serve as alignment aids) then glue the frame to the base plate and route the cable through as shown in the photo. Step 5 Slide the centering ring over the cylinder (you can glue it but it is not required) Step 6 Feed the cable through the first rod segment and screw it together then screw a thread connector into the rod and feed the cable through that as well then you can attach the tube using the previously installed small pins and glue it from the inside) Step 7 Repeat this step until all rod segments are used up Step 8 Slide the top tube cover over the rod and align it with the 4 small pins this does not need to be glued but can be done for a better hold Step 9 Slide the vines over the rod and glue their respective ends together (If print support leaves residue simply sand a little and heat the spot with a lighter but be careful) Step 10 Attach and glue the clips to the vines as desired Step 11 Attach the leaves add some glue into the hole then push them in and align them however you like Step 12 Connect the E27 socket Step 13 Glue the E27 socket in place Step 14 Glue the white question marks into the lampshade (The white parts have a little extra clearance to account for any 3D printing tolerances) Step 15 Attach the lampshade to the thread connector on the E27 socket In the final step glue on the power up flowers and add the coins and you are done Bu ürünün çizimi MakerWorld'den alınmıştır. Yapımcıya teşekkür ederiz. Bu ürün tasarımcının izniyle üretilmektedir.
3D baskının doğal katman izleri ürün yüzeyinde görülebilir. Ekran görüntüleri ile gerçek ürün rengi arasında küçük farklılıklar olabilir.
↗Three-layer Underwater Castle Aquarium Decoration Luxury Castle
 ↗
Forever Together - Romantic Silhouette Decoration
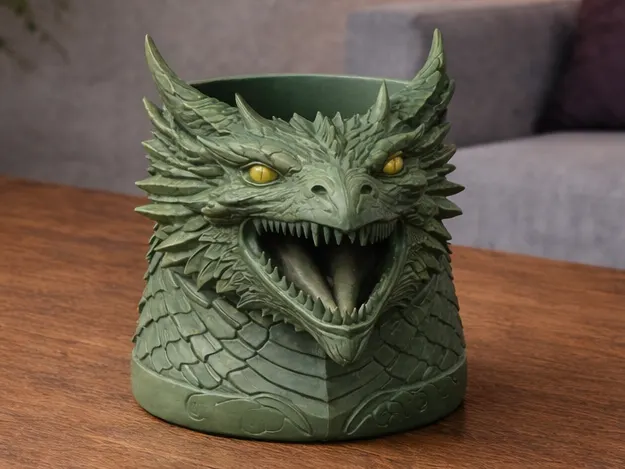 ↗
This high-quality Dragon Pen Holder combines functional design with impressive fantasy aesthetics.
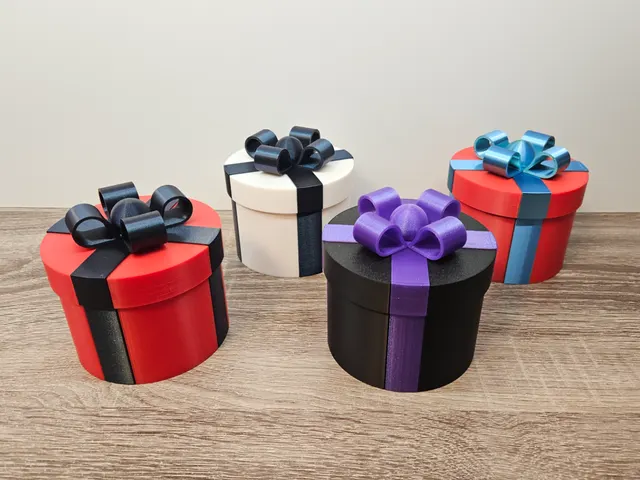 ↗
Round Gift Box - Beautiful gift box for gifts or decoration